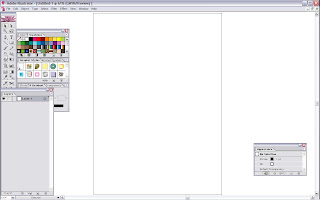
step 1: absulotely we have blank page here.
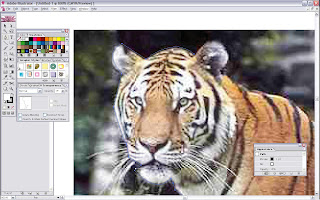
step2: The first step that we have to do is trace the tiger picture like this. in the first, we can just line it the outline of the tiger. to make it easier, you can also make just the outline. don't fill it with any color.
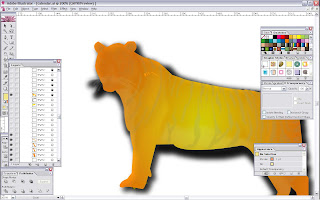
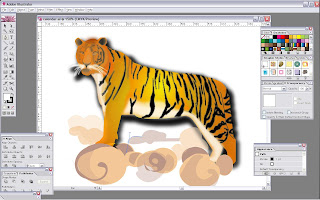
step 3: if you have finished your outline, you can start to fill the image. I fill with radial gradient yellow and orange color.don't forget to use drop shadow.
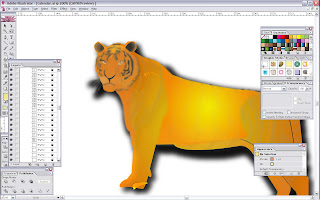
step4: then, after that you just trace the skin's pattern of the tiger. you must be careful when you trace on it's face. especially it's eyes. it's difficult to make. then continue with its body and finish it all.
step5: I guess that blur effect can make this tiger looks real, so you can use that effect. even this blur make the image doesn't look clearly but this gaussian blur effect help us to make the tiger realitic

step 6: and give the cloud above the tiger to make it nice.
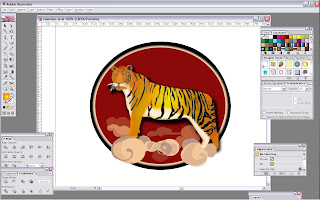
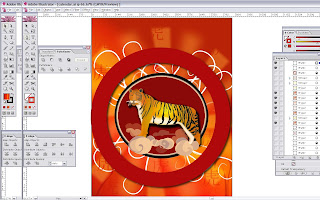
step 7: then you are supposed to make the 3 circle like this and arrange behind of the tiger. the first circle is dark red, white, and then black. then you must blur the white circle. like this
step 8: you must do with path finder. make sure your pathfinder window is exist on your page. then you must create two circle the then click this pathfinder. watch the picture above
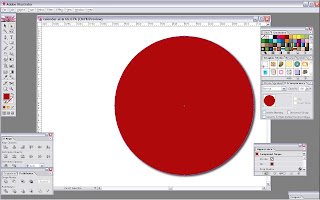
-create circle again inside the circle

-click the second button in the pathfinder. like this. and you can get your circle has a hole
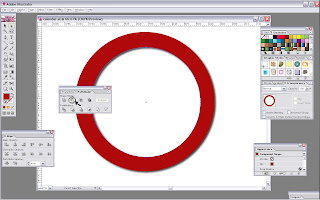
-then, set up the position like this
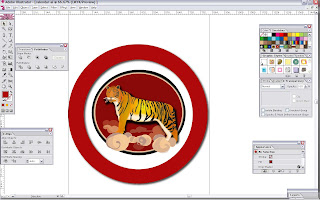
step 9: this step can be done in the first or the last. if you want to do in the last, you must group your tiger and lock all of what you've done. We want to create the background. look this several picture for the step.
-I play with the gradient. and set the color gradient like in this picture.
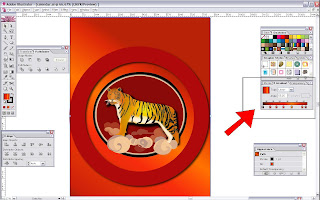
- make the rectangle using rectangle tool. and shape it like the picture above by pressing shift+ right click to lock the corner of the shape and do that again to release the lock.
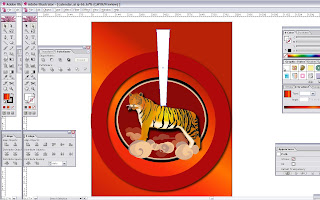
- click the transform
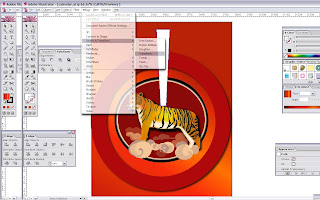
and set like this picture.
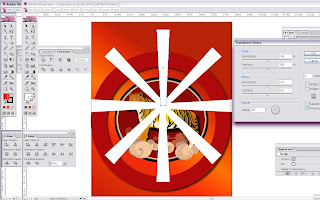
-after that. you can set the tranparancy and make it blur using gaussian blur. and make this shapes two times to become like this. the one you can set with more transparancy and blur and another one you can set with little transparancy and little blur also.
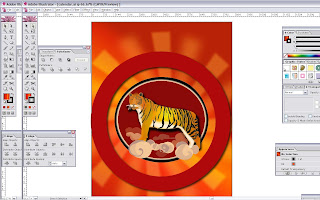
- To make crowded, we can put the "root line". make the root line using the same way with the previous line. remember , don't make it blur. and set the position like this
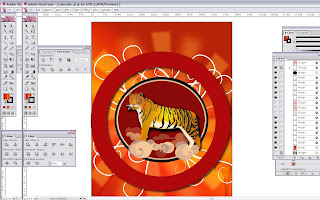
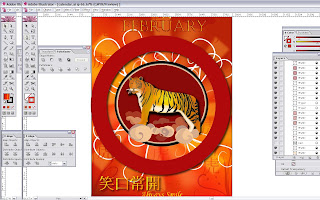
step 10: this is the last step. you must decorate your calendar with china style. you can trace it from the internet or you do by yourself using pen tool.
create the plants to decorate the calendar.and set in to red and transparancy
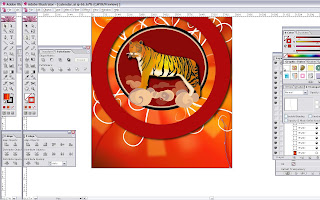
- write the word "tiger" in chinese word and spread them on the calendar.
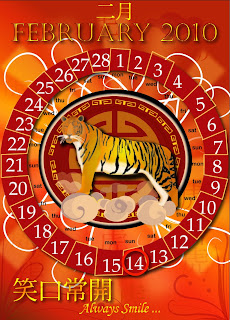
- don't forget to write the month, date, and the number of date. then better, you write some quote or exciting word to make your calendar interesting.
- so we hav finished our work. try it.

Thank you


No comments:
Post a Comment